Withdraw Funds to Rootstock
This tutorial covers the process of withdrawing funds from RIF Rollup (L2) back to the Rootstock main chain (L1).
We will;
- Withdraw funds to Rootstock
- Use two-step withdrawal method
Moving funds to an exchange: If you want to move your funds from Rollup to an exchange, these steps follow the correct method. Alternatively, you can take a risk and enter the exchange address when you withdraw, but most exchanges do not observe smart contract transfers, which may require you to contact their customer support to see your funds on the exchange.
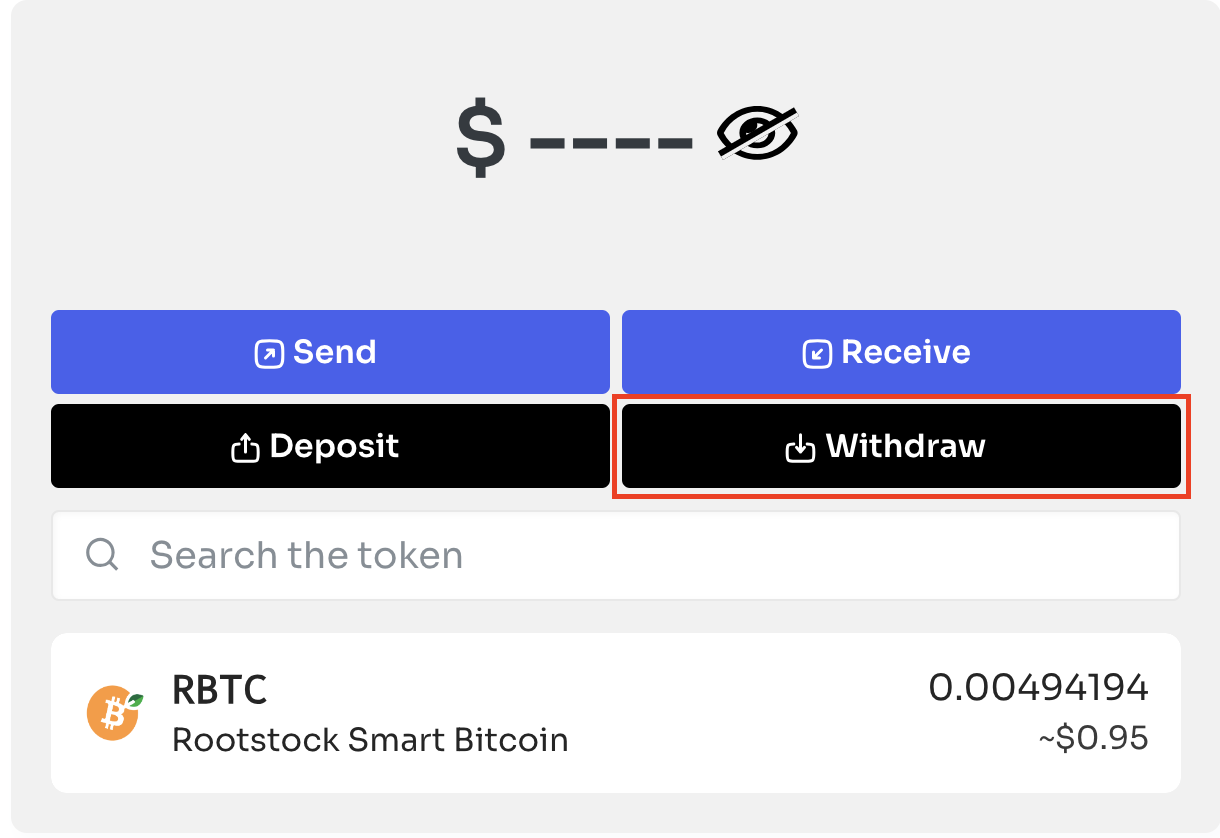
- Click on "Withdraw"
- Enter Address and Withdraw Amount
Note: If you enter a different address for withdrawal, please check that it accepts smart contract transfers. See FAQ: How to know if an address accepts smart contract transfers.
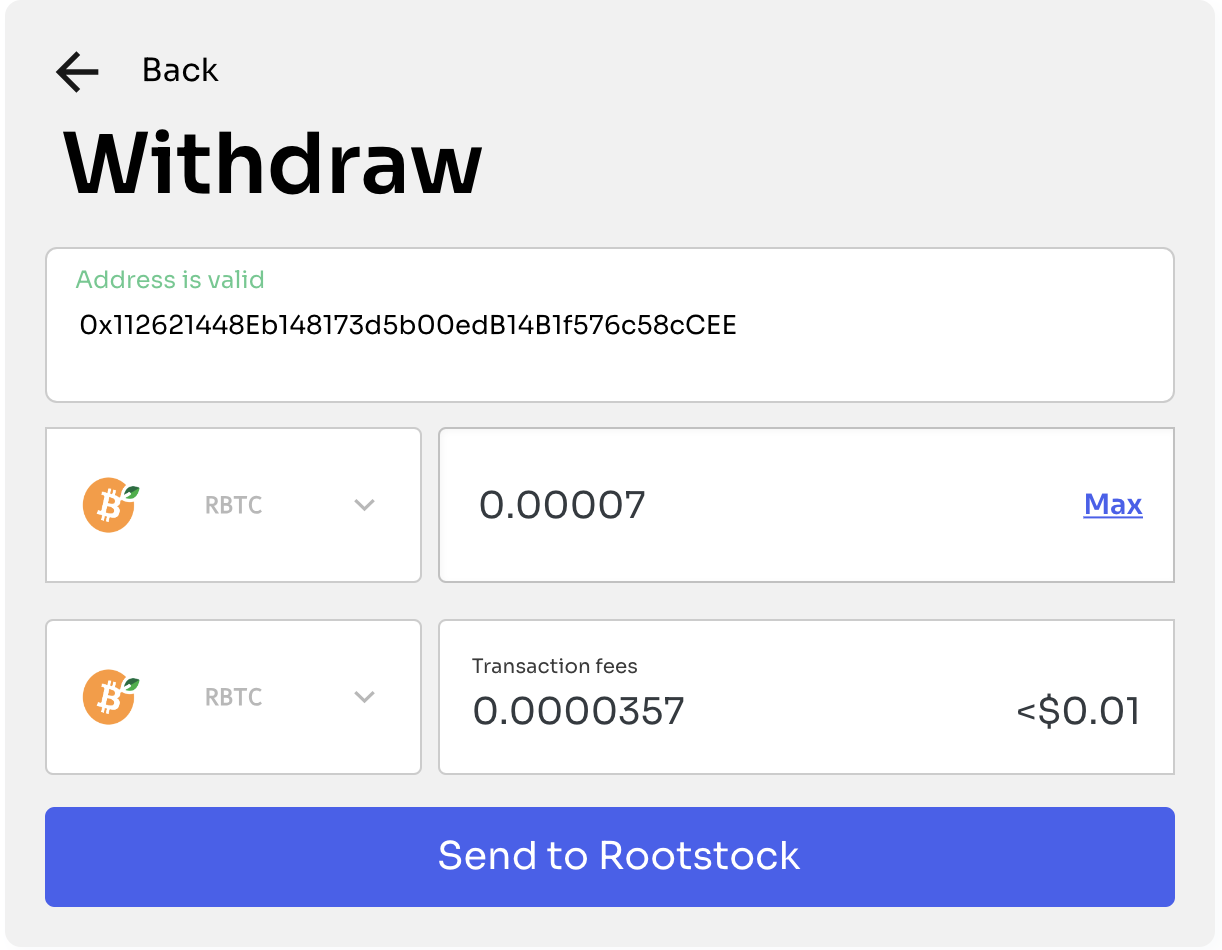
Now, click on the “Send to Rootstock” button.
If this is your first transaction after depositing or funding your rif rollup account, see the Account Activation section.
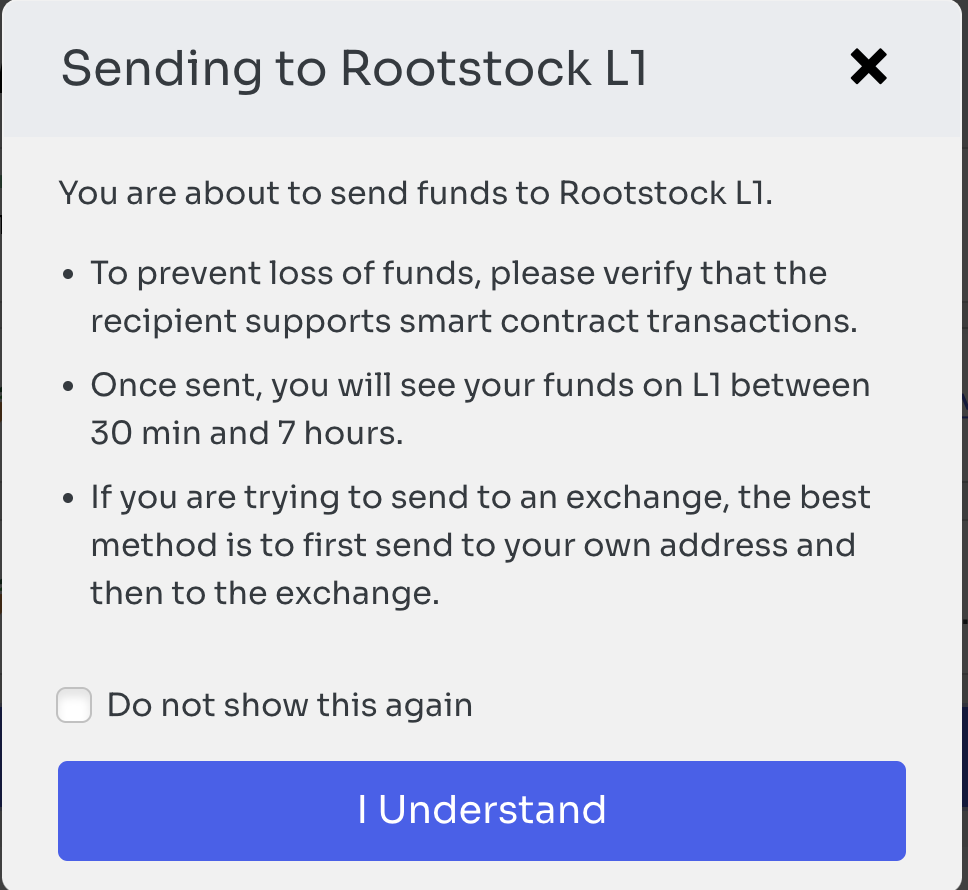
- Read pop-up carefully to avoid loss of funds
Click on the I understand button
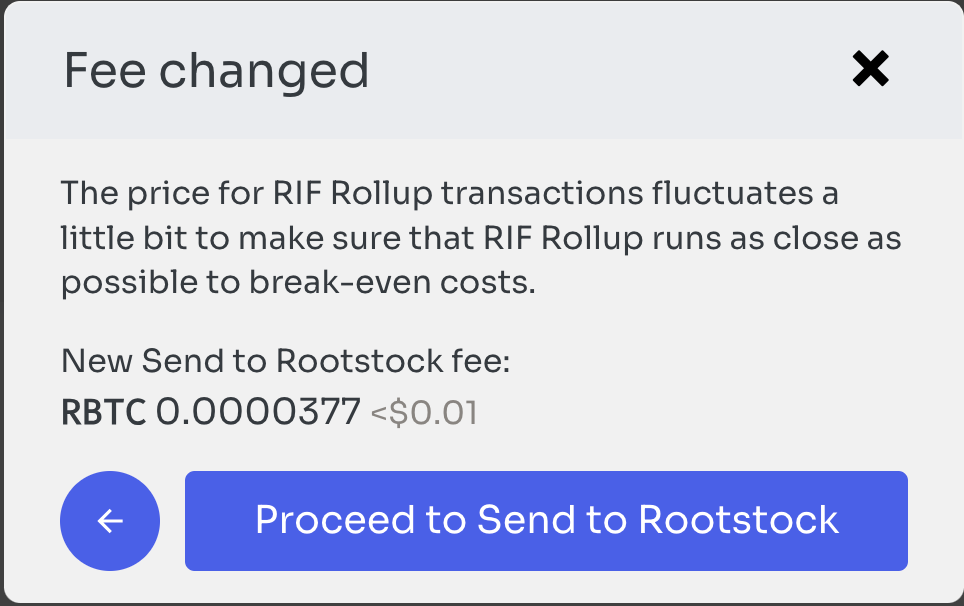
- Accept fee changes
- Confirm the withdrawal amount, address, fee, and sign the message.
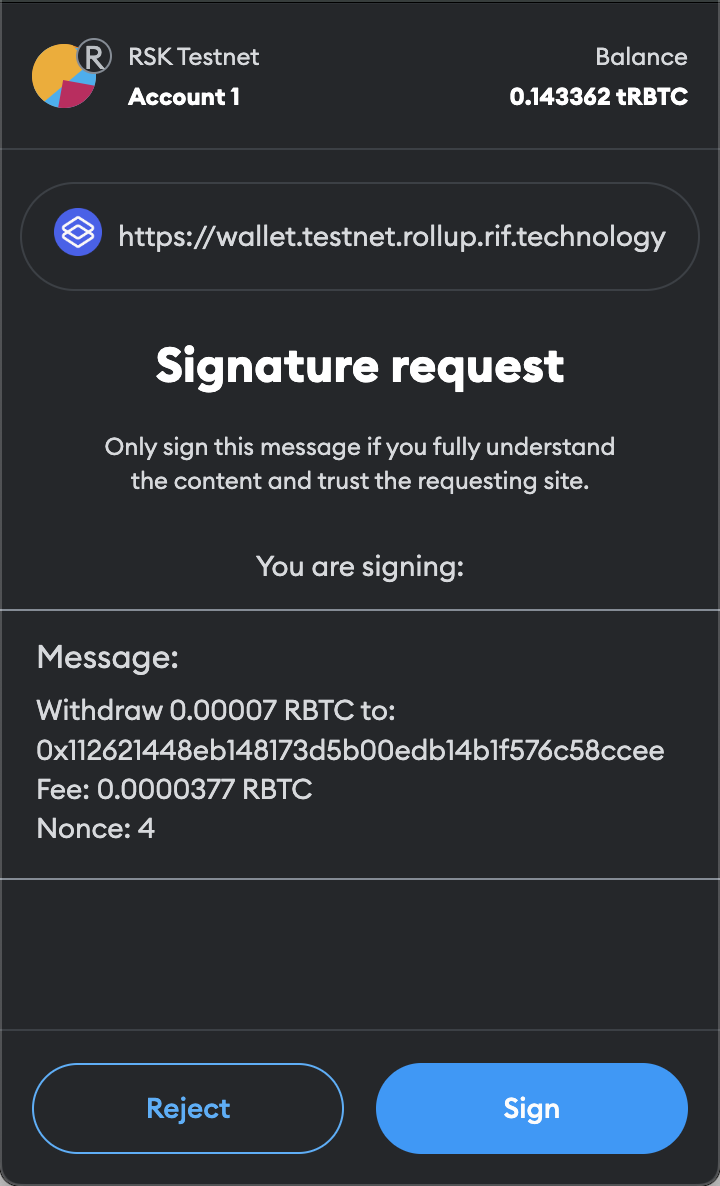
Your withdrawal has been initiated. There will be an immediate change in your account balance in Rollup, but withdrawal times can take from 30 minutes to 7 hours before being available on Rootstock (L1).
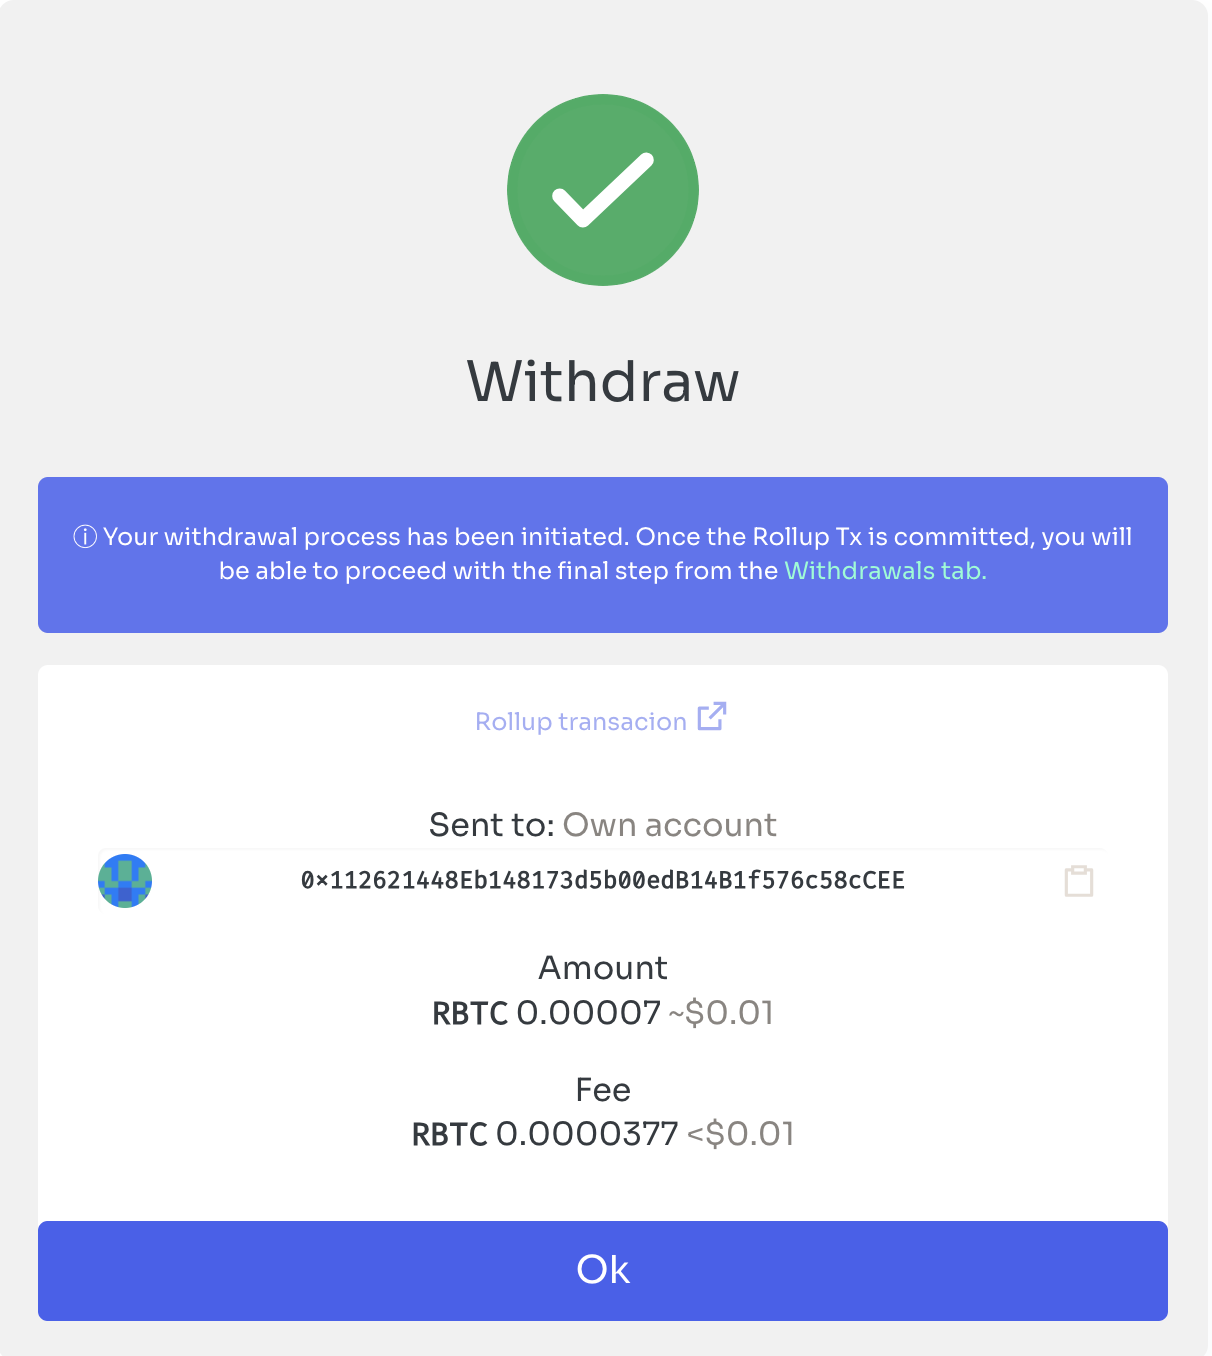
Note: When network activity increases, blocks fill up faster, and withdrawal times decrease.
Two-step withdrawals
If the rollup server config “two steps withdrawals(security measure)” is enabled, see how to enable this on an extra step is required for the withdrawal process to reach the end user L1 account. The wallet UI reacts to this configuration by showing an extra tab called WITHDRAWALS.

So once the steps in the section above are finished that that tx is set as “confirmed”
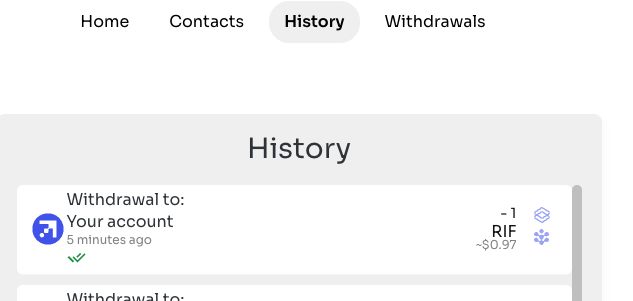
Your “withdraw balance” will show up in Withdrawals section as shown below:
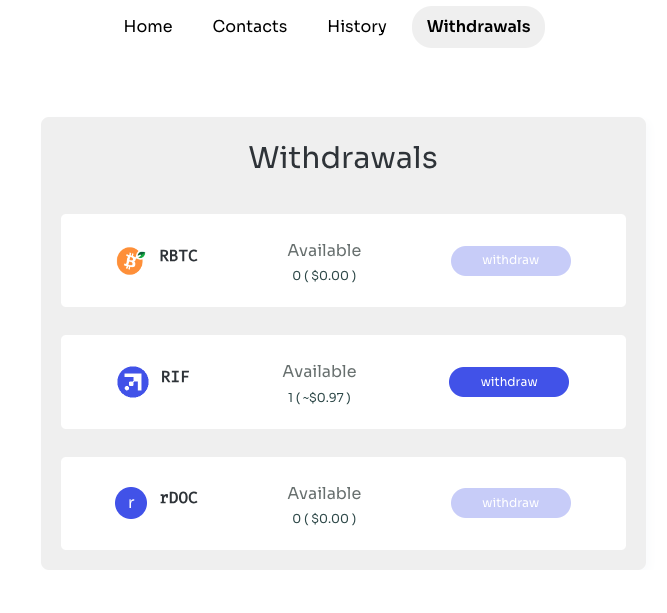
Tap withdraw, follow the instructions, sign the L1 tx. And that makes it effective after the L1 tx gets mined. The user should be able to verify that that balance has been transferred to their L1 account.